The powerful capabilities offered through the Cintas Partner Connect web platform provide organizations with unmatched convenience in managing everything related to their partnerships. Partners significantly optimize time and resources with self-service access to essential account functions – be it requesting new orders, handling inventory or accessing usage reports.
However, to access this exclusive portal, users need to properly complete a secure login process authenticating their approved access. This guide covers step-by-step instructions to sign in flawlessly:

Contents
Prerequisites to Login
While Partner Connect does offer flexible anytime, anywhere browser-based access, clients must fulfill a few prerequisites:
- Active Cintas Account – Partner Connect is exclusive to existing Cintas customers only for managing current partnerships. Non-customers can only access general corporate information.
- Approved Access Rights – Along with an active account, users need explicit registered permission to use Partner Connect functionality. Authorization takes under 24 hours to process.
- Compatible Browser – Use only the recommended latest versions of Edge, Chrome, Firefox or Safari. Enable cookies and disable pop-up blockers.
- Strong Internet Connection – For optimal speed, ensure the computer has a high-speed broadband or WiFi internet connection before accessing the portal.
Once these criteria are validated, login process takes under a minute.
Login Through 4 Simple Steps
The Cintas Partner Connect login page is accessible at partnerconnect.cintas.com or by clicking the designated link through your existing Cintas online account login. Follow the instructions below:
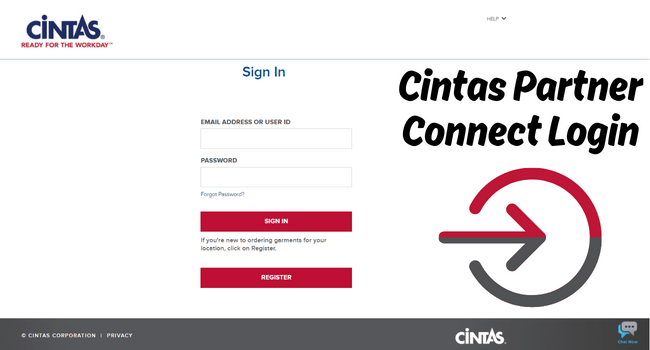
- Enter Your Username: In the first text field on the page, input your registered username. This can either be the email address associated with your Cintas account communications or your unique Personal Identification Number (Employee ID). Tip: Utilizing the auto-filled Email address allows for the use of password manager apps if enabled on your device’s browser, enhancing security.
- Input Your Account Password: In the next field, enter the secure password that matches the one currently set up for your authorized Partner Connect account profile. For first-time users, the temporary password is provided in the approval email. You will be prompted to reset a unique password after logging in.
- Select Your Company (If Applicable): If you belong to a larger organization with multiple Cintas accounts and locations, you may see a dropdown menu above the password field to select the relevant company name. Choose the appropriate option before proceeding.
- Click Sign In!: Once all the required information is correctly entered, the rectangular “Sign In” button at the bottom right will turn green. Click on it to authenticate the provided credentials and gain access to your Partner Connect dashboard.
Troubleshooting Login Issues
In rare instances, you may encounter error messages during login such as “Invalid username/password”. Some quick tips:
- Reset forgotten passwords using the “Forgot password” link.
- Ensure browser compatibility and disable extensions if they persist.
- Clear cookies/site data and try again after some time.
- Double check the spelling of the details entered.
For unresolved recurring login issues, clicking “Contact Support” on the page will submit an assistance ticket to Cintas which is the best next step.
Stay Logged In on Private Devices
For convenience, check the box to “Stay logged in” when accessing Partner Connect on personal computers or mobile devices not shared by multiple users. This eliminates frequent logins. However, ensure you safely logout after each session on any shared or public computers.
We hope these instructions ensure you have a smooth, hassle-free experience authenticating and accessing your Cintas Partner Connect account through partnerconnect.cintas.com! Let us know if you have any other questions.